Real-Time PCR Protocol – ΔF508 Mutation Detection (Generalized Version)
This sample demonstrates my ability to document complex laboratory procedures in a clear and professional format. The protocol is adapted from routine work with PCR-based genetic testing and is anonymized for portfolio use.
Purpose:
To detect the ΔF508 mutation in the CFTR gene using Real-Time PCR with a LightCycler 480 system.
Intended Users:
Laboratory technicians trained in molecular diagnostics
Laboratory Preparation
- Clean lab surfaces with soap and water regularly.
- Clean outside the PCR area as needed.
- Clean inside the PCR hood approximately once a month.
- Disinfect with 70% ethanol (commercial grade).
- Do not use 100% ethanol, as it can cause fixation of DNA or contaminants onto surfaces, making them harder to remove. Use 70% ethanol for effective decontamination.
- Do not clean the PCR base plate with ethanol to avoid corrosion.
- The PCR workstation must remain DNA-free at all times.
- Open both centrifuges for air exchange and readiness.
Instrument Startup
- Power on the real-time PCR machine and allow it to complete its internal checks.
- Once the loading tray opens and closes automatically, turn on the monitor and tower.
- On the main screen:
- Select User Defined Workflow → press Enter.
- Choose Instrument Operator → enter corresponding password/code.
- Launch the real-time PCR machine’s Software. Log in with credentials.
- Select:
- New Experiment → Apply Template → Run Template → choose deltaF508 template.
- Ensure Reaction Volume is set to 10 μL.
Reagents & Master Mix
- Use an Excel file or lab notebook to document reagent volumes and sample layout.
- Place reagents in order of use on a clean tray. After use, move them to a separate position.
- Retrieve the Reagent Mix from the top shelf of the freezer.
- It is light-sensitive and must remain in its black protective pouch when not in use.
Master Mix Recipe (per reaction):
Component | Volume |
PCR-grade H₂O | 11.4 μl |
FastStart DNA Master | 2.0 μl |
MgCl₂ (25 mM) | 1.6 μl |
Reagent Mix (light-sensitive) | 1.0 μl |
Total | 16.0 μl (Master Mix) |
Tips:
- Vortex only the MgCl₂ (~8 seconds). No centrifugation required.
- Do not vortex enzymes to avoid activity loss.
- After each addition, mix gently by pipetting up and down.
- Once complete, gently tap the mix and spin briefly (~11,500 rpm).
Sample Preparation
- Return all reagents to the fridge or freezer immediately after use.
- Bring DNA samples and PCR-grade water to bench temperature (outside PCR hood).
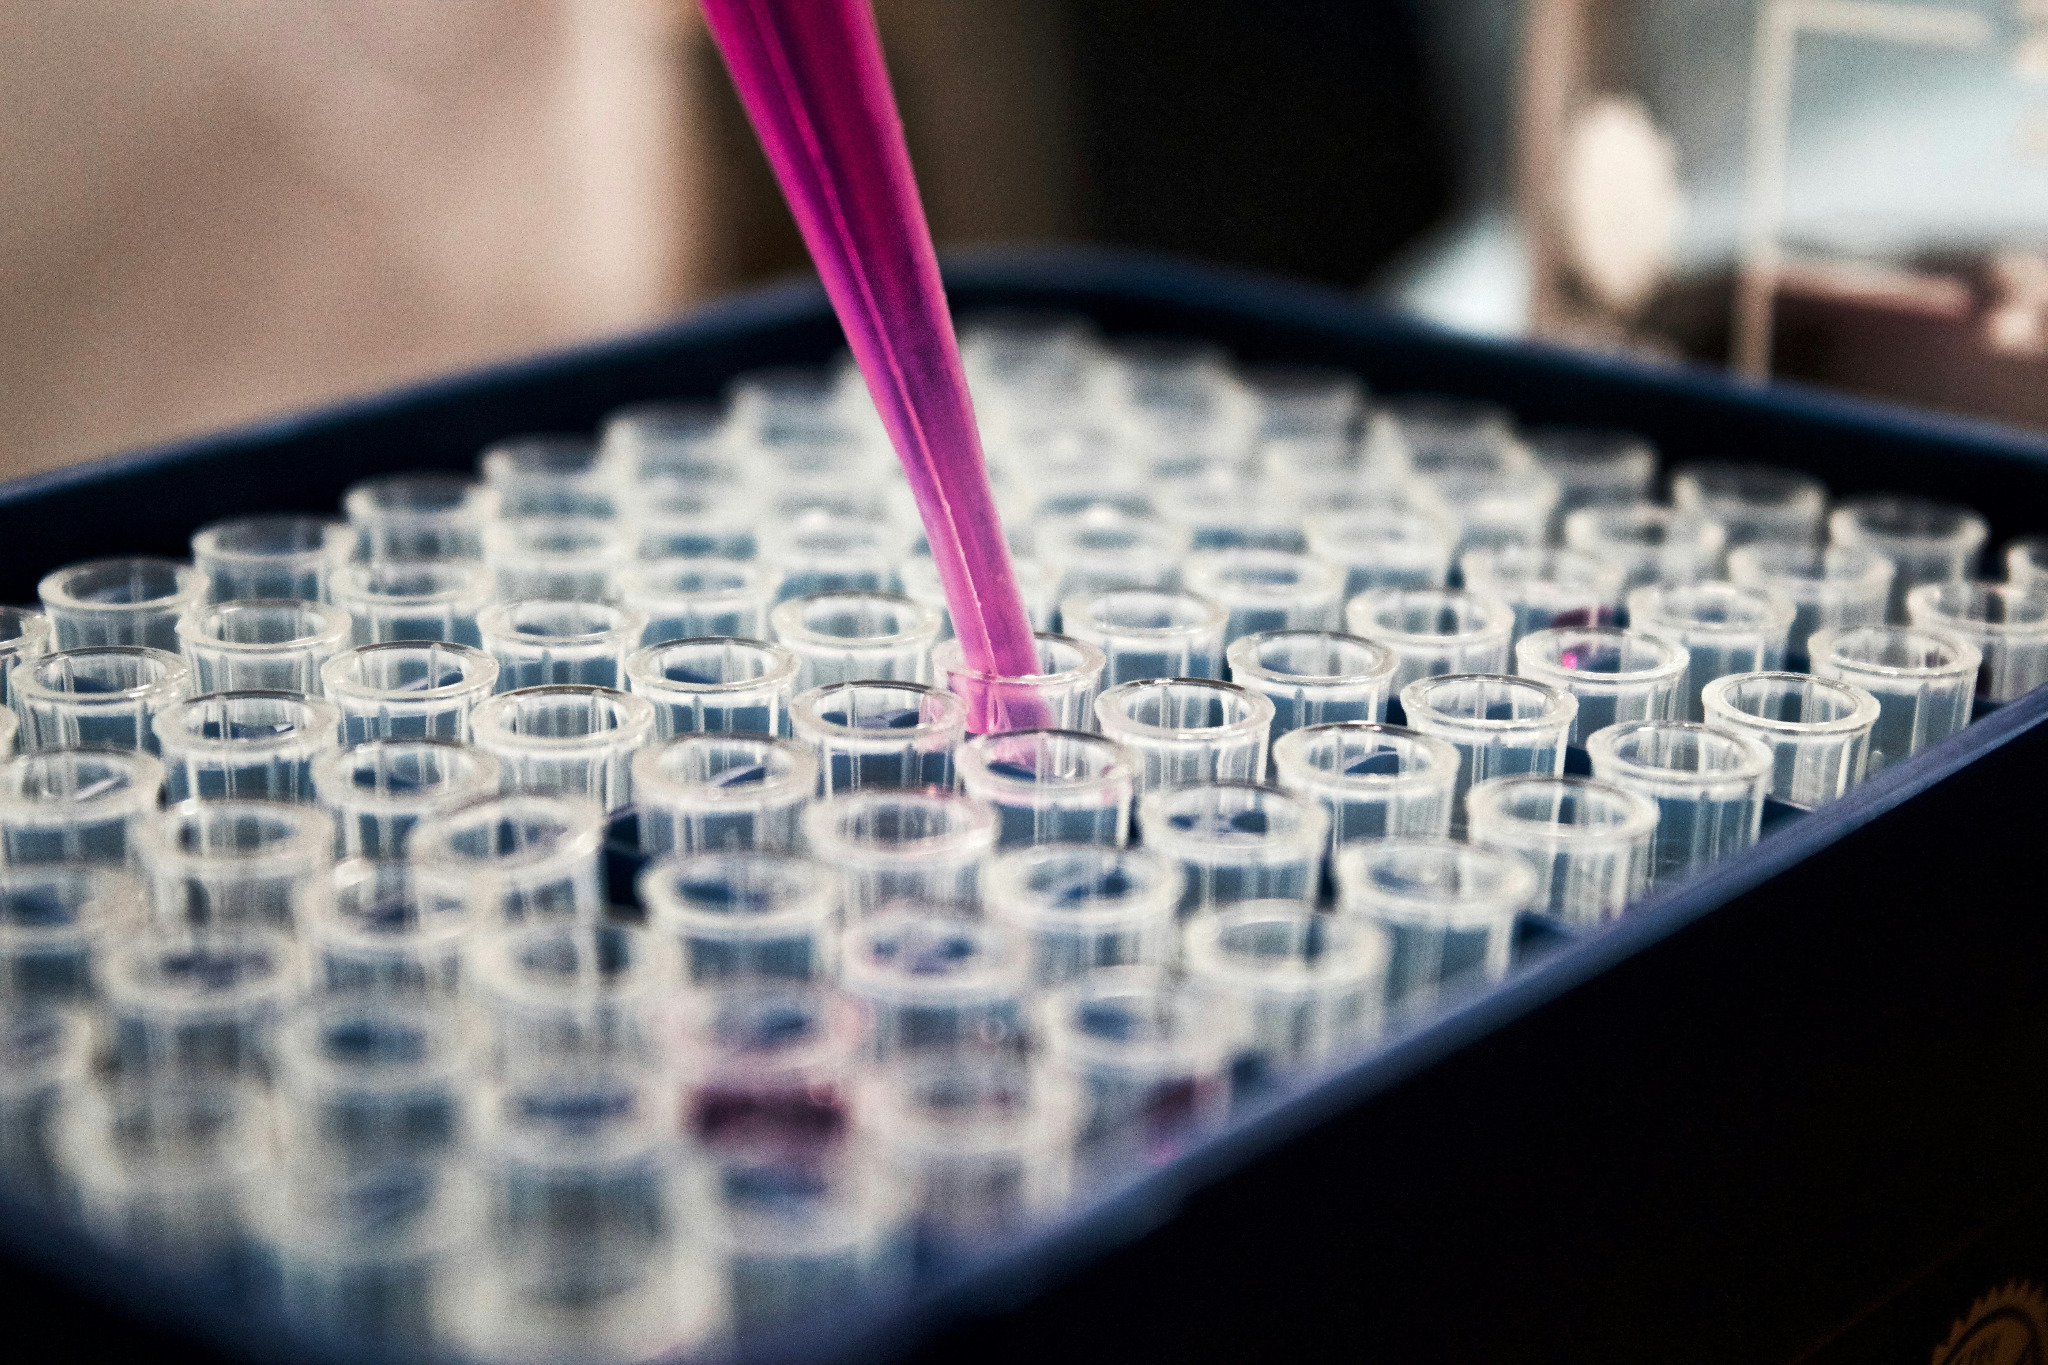
- Add 16 μL Master Mix to each well of your PCR plate or strip.
- Optional: Mark each loaded well, immediately after loading it, with a permanent marker to prevent errors.
- Add 4 μL of sample DNA per well, or 4 μL PCR-grade water for NTCs.
- Mix gently (2–3 pipette cycles per well).
Plate Sealing and Centrifugation
- Seal wells:
- Strips: Ensure tight cap fit with slight pressure.
- Plates: Apply sealing film with no air bubbles.
- Briefly centrifuge (~40 seconds) with appropriate counterbalance.
PCR Run
- Load the sealed plate into the machine (tray opens with front-right button).
- Click Start Run.
- In the run dialog:
- Enter the experiment name (e.g., 2025-07-21_deltaF508).
- Select: Experiments > [Year] > deltaF508 → confirm with ✅.
- In the Subset Editor, click + to create a new subset.
- Name it with the date and experiment (e.g., 2025-07-21 deltaF508).
- Assign the correct wells (Control + click).
- In the Sample Editor, assign names and colors to each sample in Latin characters.
- In the Data tab:
- Right-click on the graph > switch X-axis to Cycles instead of Time.
- Monitor amplification progress (signal may appear late in run).
- When run is complete, status changes to Run Completed.
⚠️ Disclaimer:
This protocol is a generalized example based on standard commercial DNA amplification workflows. It has been anonymized and adapted for portfolio purposes only. Always consult your laboratory's official SOPs and reagent manuals.
Post a comment